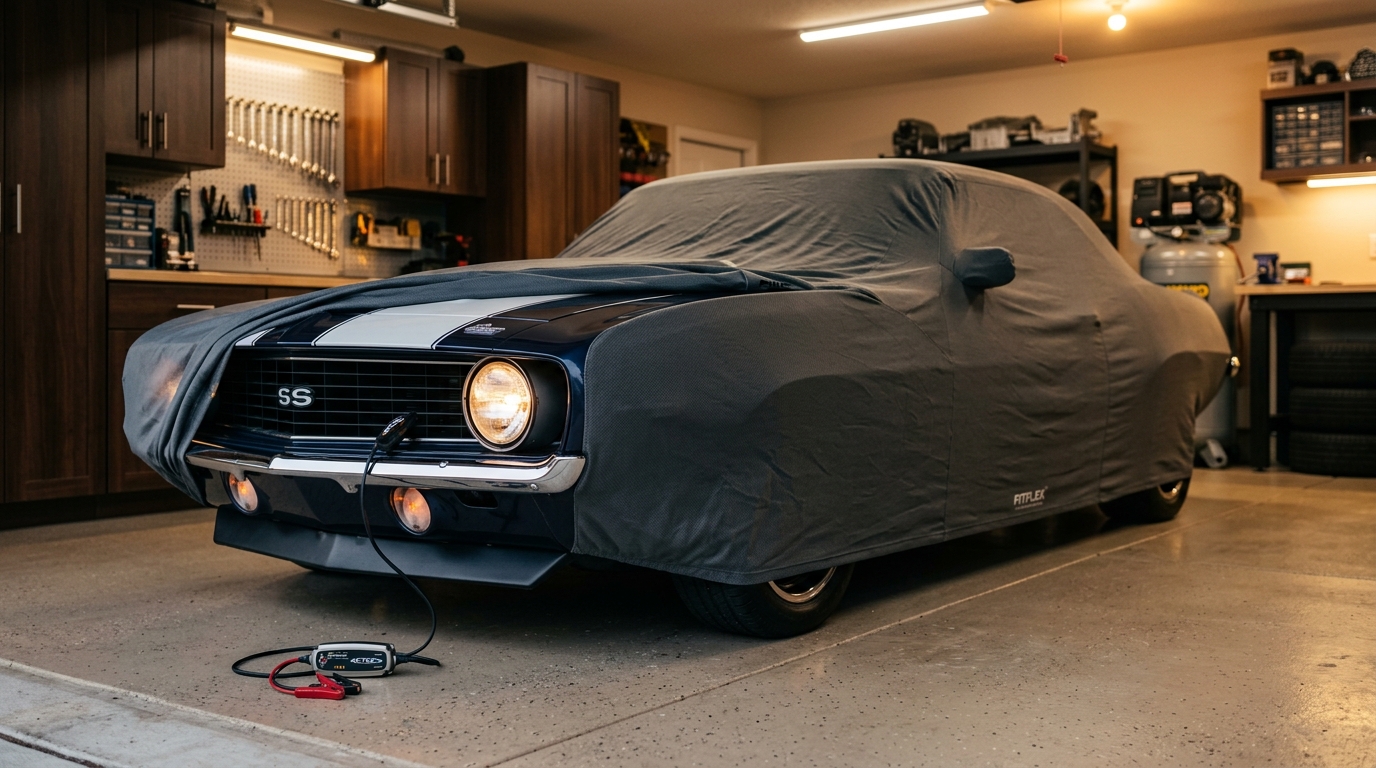
The 7-Step Winter Storage Checklist
Winter storage is where classic car owners save or lose money. Done right, your car emerges in spring exactly as it went in. Done wrong, you wake up to a dead battery, varnished fuel lines, flat-spotted tires, and a musty interior that costs hundreds to thousands to fix. This checklist covers the 7 steps that matter most — and the specific mistakes that cost the most when you get them wrong.
Step 1: Fuel Stabilizer — Add It Before the Final Drive
The single most common winter storage mistake is adding fuel stabilizer after the car is already parked. Stabilizer only works if it circulates through the entire fuel system — carburetor bowls, fuel lines, and injectors. Pour it in the tank, then drive at least 20 miles at highway speed so it reaches every component. If you add it after parking, the untreated fuel in your carburetor bowls and lines will turn to varnish over winter, and you will rebuild your carburetor in spring.
Skipping fuel stabilizer or adding it after parking costs $200-$800 in spring. Varnished fuel clogs carburetor jets, sticks float needles, and coats injector nozzles. A carburetor rebuild is $200-$400. Fuel injector cleaning is $100-$300. Ethanol-blend fuel (E10) makes this worse — ethanol absorbs water over winter, causing phase separation that rusts fuel system components from the inside out.
| Stabilizer Brand | Cost | Treats | Best For | Notes |
|---|---|---|---|---|
| Sta-Bil Storage | $12 | 20 gallons | General storage up to 12 months | Most popular; works with E10 fuel |
| Seafoam | $11 | 16 gallons | Storage + cleaning | Cleans varnish while stabilizing |
| Ethanol Shield | $18 | 25 gallons | E10/E15 fuel | Best for ethanol-blend fuel |
| PRI-G | $25 | 100 gallons | Long-term storage (2+ years) | Concentrated; best for multi-year storage |
| Lucas Fuel Stabilizer | $15 | 25 gallons | General storage | Also lubricates upper cylinders |
Add stabilizer at the gas station, then drive 20+ miles home. The drive ensures the treated fuel reaches the carburetor or injectors. Use 1 oz per 2.5 gallons unless the label says otherwise.
Step 2: Battery Maintainer — Not a Trickle Charger
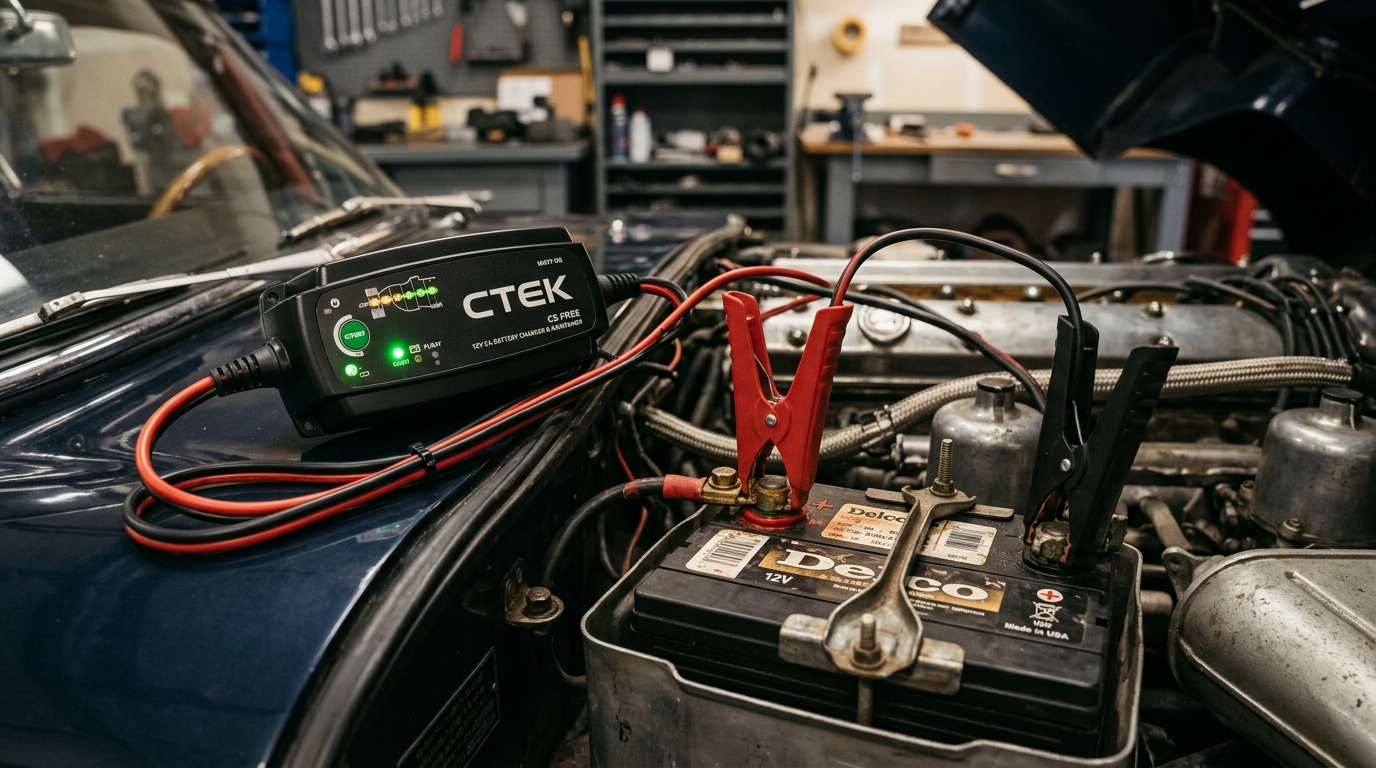
A battery maintainer (also called a battery tender) is not the same as a trickle charger. A trickle charger delivers a constant low current regardless of battery state — it will overcharge and eventually kill your battery over a 4-6 month storage period. A maintainer monitors battery voltage and automatically switches between charging, maintaining, and shutting off. It can be connected for months without damaging the battery.
| Maintainer Model | Cost | Output | Best For | Key Feature |
|---|---|---|---|---|
| Battery Tender Jr | $40 | 0.75A | Single car, 12V lead-acid | Most popular; 10-year warranty |
| CTEK MXS 4.3 | $85 | 4.3A | AGM and standard batteries | 8-step charging; recondition mode |
| NOCO Genius 1 | $35 | 1A | Motorcycles and small batteries | Compact; waterproof |
| Battery Tender Plus | $70 | 1.25A | Long-term storage | Higher output than Jr; 10-year warranty |
| CTEK MXS 5.0 | $100 | 5A | Large batteries and AGM | Temperature compensated; AGM optimized |
A battery maintainer extends battery life by 3-5 years compared to disconnecting the battery. Disconnecting causes the battery to self-discharge over 3-4 months, requiring replacement ($150-$300).
A trickle charger ($15-$25) delivers constant current and will boil your battery dry over winter. A maintainer ($40-$100) monitors voltage and shuts off automatically. The $15 difference in purchase price saves $150-$300 in battery replacement costs. Never use a trickle charger for storage longer than 30 days.
Step 3: Tires — Max Pressure or Jack Stands
Tires flat-spot when a vehicle sits in one position for months. The weight of the car compresses the tire at the contact patch, and over time the tire takes a permanent set. Modern radial tires are less prone to flat-spotting than bias-ply tires, but 4-6 months of storage is enough to cause temporary flat spots that cause vibration for the first 20-50 miles of driving. Permanent flat-spotting requires tire replacement.
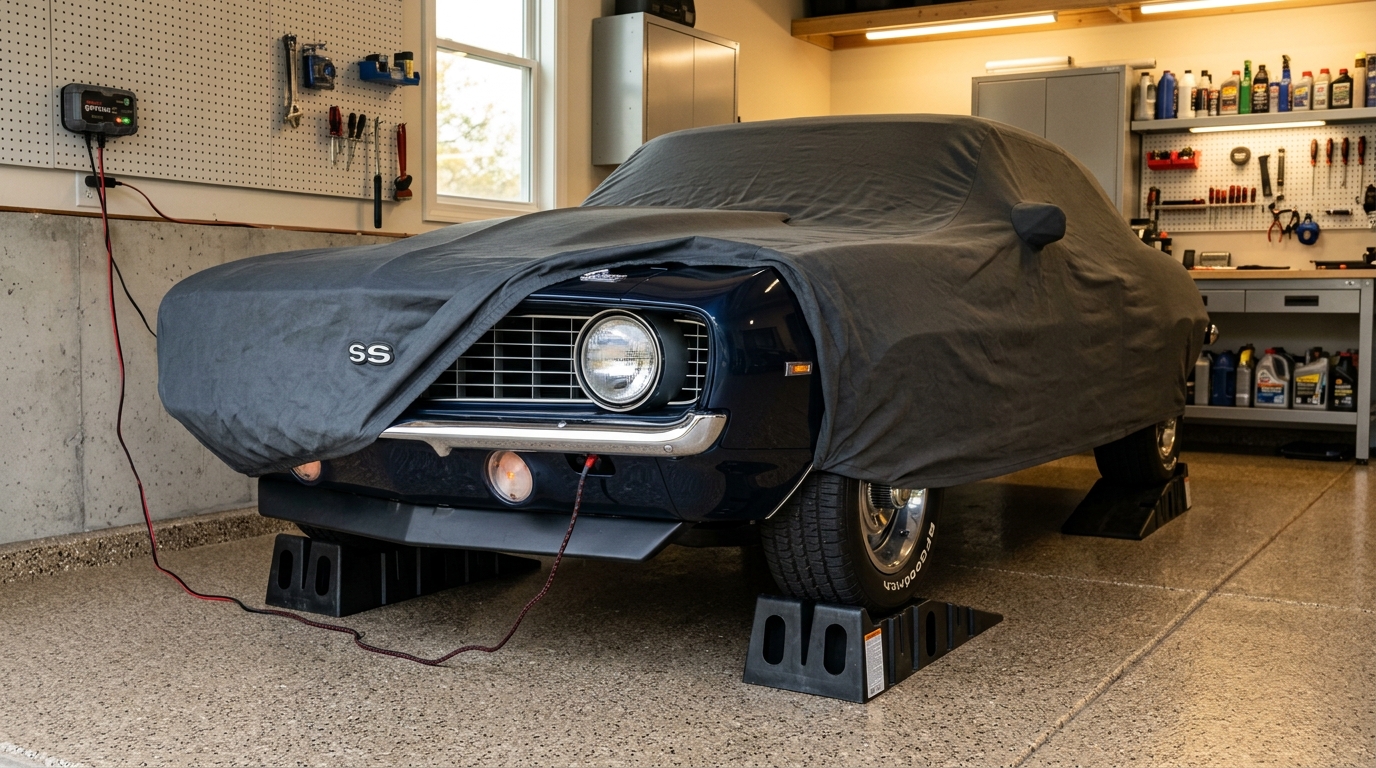
- Option A: Inflate to max sidewall pressure (44-51 PSI) — Easiest method. Check the tire sidewall for the max pressure rating and inflate to that number. This reduces the contact patch and minimizes flat-spotting. Return to normal pressure in spring.
- Check sidewall for MAX PSI rating
- Inflate to that number (not the door jamb pressure)
- Check pressure monthly — cold temperatures reduce pressure 1 PSI per 10°F drop
- Option B: Jack stands under the frame — Best for storage longer than 4 months. Place jack stands under the frame rails (not the axle) so the suspension is fully extended and the tires are off the ground. This completely eliminates flat-spotting.
- Use 3-ton jack stands minimum
- Place under frame rails, not control arms
- Leave suspension at full droop — do not remove shocks
- Option C: Tire saver ramps (flat-spot prevention ramps) — $40-$80. These ramps have a curved surface that distributes weight across a larger tire area. Easier than jack stands and safer for long-term storage.
- Race Ramps Tire Saver Wedges ($80)
- Discount Ramps Tire Cradles ($50)
- Prevents flat-spotting without lifting the car
Step 4: Wash and Clay Bar Before Covering
Never cover a dirty car. Contaminants on the paint — bird droppings, tree sap, industrial fallout, road grime — will be trapped against the paint surface under the cover for months. Bird droppings etch paint in as little as 48 hours. Tree sap hardens into a resin that requires compound polishing to remove. Wash the car thoroughly, clay bar the paint to remove embedded contaminants, and apply a coat of wax before covering.
A clay bar removes contaminants that washing alone cannot — industrial fallout, rail dust, and embedded tree sap. These particles sit on the paint surface and, when trapped under a cover for months, can cause permanent staining. A $20 clay bar kit takes 30 minutes and prevents $200-$500 in paint correction work in spring.
Step 5: Moisture Control — Desiccants, Not Dryer Sheets
Moisture inside a stored car causes mold, mildew, and electrical corrosion. The old-school method of tossing dryer sheets in the cabin does not absorb moisture — it only masks odors. Use actual desiccants that pull moisture from the air:
| Product | Cost | Coverage Area | Lifespan | Best For |
|---|---|---|---|---|
| DampRid Moisture Absorber | $8 | 250 sq ft | 60 days | Cabin and trunk — refillable |
| Silica Gel Packs (large) | $15 | 50 sq ft each | 3-6 months | Glove box, console, trunk |
| Eva-Dry Renewable E-333 | $25 | 333 cu ft | 10 years (renewable) | Long-term storage — recharge in oven |
| Boveda 49% RH Packs | $12 | Small enclosed spaces | 2-4 months | Glove box, console — precise humidity control |
Place 2-3 DampRid containers in the cabin and 1 in the trunk. For enclosed spaces (glove box, console), use silica gel packs. Eva-Dry is the best long-term investment — recharge it in the oven and reuse for 10+ years.
Step 6: Breathable Cover — Never a Plastic Tarp
A plastic tarp is the worst thing you can put over a stored classic car. Plastic traps condensation — moisture evaporates from the car and ground, hits the impermeable tarp, and drips back onto the paint. This creates a greenhouse effect that causes more damage than leaving the car uncovered. Use a breathable fabric cover that allows moisture to escape while keeping dust off the paint.
| Cover Brand | Cost | Material | Indoor/Outdoor | Key Feature |
|---|---|---|---|---|
| California Car Cover (indoor) | $90-$150 | Cotton flannel | Indoor | Softest lining; best for paint protection |
| Covercraft Form-Fit | $130-$200 | Cotton/viscose | Indoor | Custom-fit; mirror pockets |
| Budge Indoor Car Cover | $30-$50 | Polyester | Indoor | Budget option; basic protection |
| WeatherShield HP (outdoor) | $180-$250 | Synthetic | Outdoor | Waterproof + breathable; UV resistant |
| Plastic Tarp | $10 | Plastic | Neither | TRAPS CONDENSATION — DO NOT USE |
For indoor storage, a cotton flannel cover is ideal — it is soft enough to not scratch paint and breathable enough to prevent condensation. For outdoor storage, use a waterproof but breathable synthetic cover.
Step 7: Rodent Prevention — Steel Wool and Traps
Mice and squirrels cause some of the most expensive winter storage damage. They chew wiring harnesses ($500-$3,000 to repair), build nests in air intakes and exhaust systems, and destroy upholstery for nesting material. Prevention is far cheaper than repair:
- Stuff steel wool in the exhaust pipe(s) and air intake openings. Mice cannot chew through steel wool. Remove it before starting the car in spring.
- Place mouse traps around the perimeter of the car — not inside it. Snap traps with peanut butter bait are most effective.
- Peppermint oil on cotton balls placed in the engine bay and cabin deters mice — they hate the smell. Replace every 2-3 weeks.
- Block garage entry points — mice can squeeze through gaps as small as a dime. Seal cracks and gaps with caulk or weatherstripping.
- Remove food sources from the garage — bird seed, pet food, and grass seed attract rodents. Store them in sealed metal containers.
A single mouse chewing through a wiring harness can cause $500-$3,000 in damage. Engine harnesses are the most common target because the insulation is soy-based on many post-1990 vehicles. Comprehensive insurance may cover rodent damage, but the claim process takes weeks and may raise your premiums. Prevention costs $15.
The Cost of Getting It Wrong
| Mistake | Spring Repair Cost | Prevention Cost | Cost Ratio |
|---|---|---|---|
| No fuel stabilizer (varnished carburetor) | $200-$800 | $10-$25 | 8-32x more expensive |
| Trickle charger instead of maintainer | $150-$300 | $40-$100 | 1.5-3x more expensive |
| No tire protection (flat-spotting) | $200-$400/tire | $0 (inflate) or $50 (ramps) | 4-8x more expensive |
| Plastic tarp cover (condensation damage) | $200-$500 (paint correction) | $90-$150 (breathable cover) | 1.3-3x more expensive |
| No moisture control (mold/mildew) | $100-$300 (detailing) | $8-$25 (desiccants) | 4-12x more expensive |
| No rodent prevention (chewed wiring) | $500-$3,000 | $15 (steel wool + traps) | 33-200x more expensive |
| Parking on bare concrete (moisture) | $2,000-$5,000 (floor pan rust) | $20 (moisture barrier) | 100-250x more expensive |
Every prevention measure costs less than the repair it prevents. The most expensive mistake by ratio: skipping rodent prevention (up to 200x more expensive). The most expensive by absolute cost: parking on bare concrete without a moisture barrier.
Regional Storage Considerations
| Region | Key Risk | Special Action Needed | Priority Step |
|---|---|---|---|
| Northeast (snow/salt) | Road salt residue causing corrosion | Underbody wash before storage; apply lanolin coating | Step 4 (wash) — critical |
| Southeast (humidity) | High humidity causing mold and electrical corrosion | Extra desiccants; dehumidifier in garage | Step 5 (moisture) — critical |
| Southwest (dry heat) | UV damage through windows; dry rot on rubber | UV-blocking window film; rubber conditioner on seals | Step 6 (cover) — use UV-resistant |
| Midwest (freeze-thaw) | Condensation cycles in fuel tank and engine | Top off fuel tank completely; oil change before storage | Step 1 (fuel) — fill to 95% |
| Pacific Northwest (moisture) | Constant damp causing surface rust | Dehumidifier; moisture barrier under car | Step 5 (moisture) — critical |
Adjust your storage approach based on regional climate. The Northeast and Pacific Northwest have the highest moisture risk; the Southwest has the highest UV risk.
When you pull the car out of storage in spring: (1) Remove steel wool from exhaust and intake, (2) Check tire pressure and return to normal, (3) Disconnect maintainer and reconnect battery, (4) Check all fluid levels, (5) Inspect for rodent damage before starting, (6) Start the car and let it idle for 10 minutes before driving, (7) Check brake function before leaving the driveway — brake rotors may have surface rust that wears off in the first few stops.
Want a professional valuation of your classic car before winter? Get an AI-powered valuation based on real market data.
Get AI ValuationSources & References
- Battery Tender — Official Site — The most popular battery maintainer brand for classic car storage
- Sta-Bil Fuel Stabilizer — Product Info — Fuel stabilizer product information and usage instructions
- Related: Classic Car Winter Storage — Complete Winterization Checklist — Our comprehensive 8-step winterization guide with regional variance and underbody protection
- Related: Classic Car Engine Rebuild Cost Guide (2026) — Engine rebuild costs — relevant if fuel system damage requires engine work
- Related: Classic Car Suspension Restoration Guide — Suspension inspection after storage — rubber components can dry out
- Related: Restoration Cost Calculator — Calculate repair costs for winter storage damage